

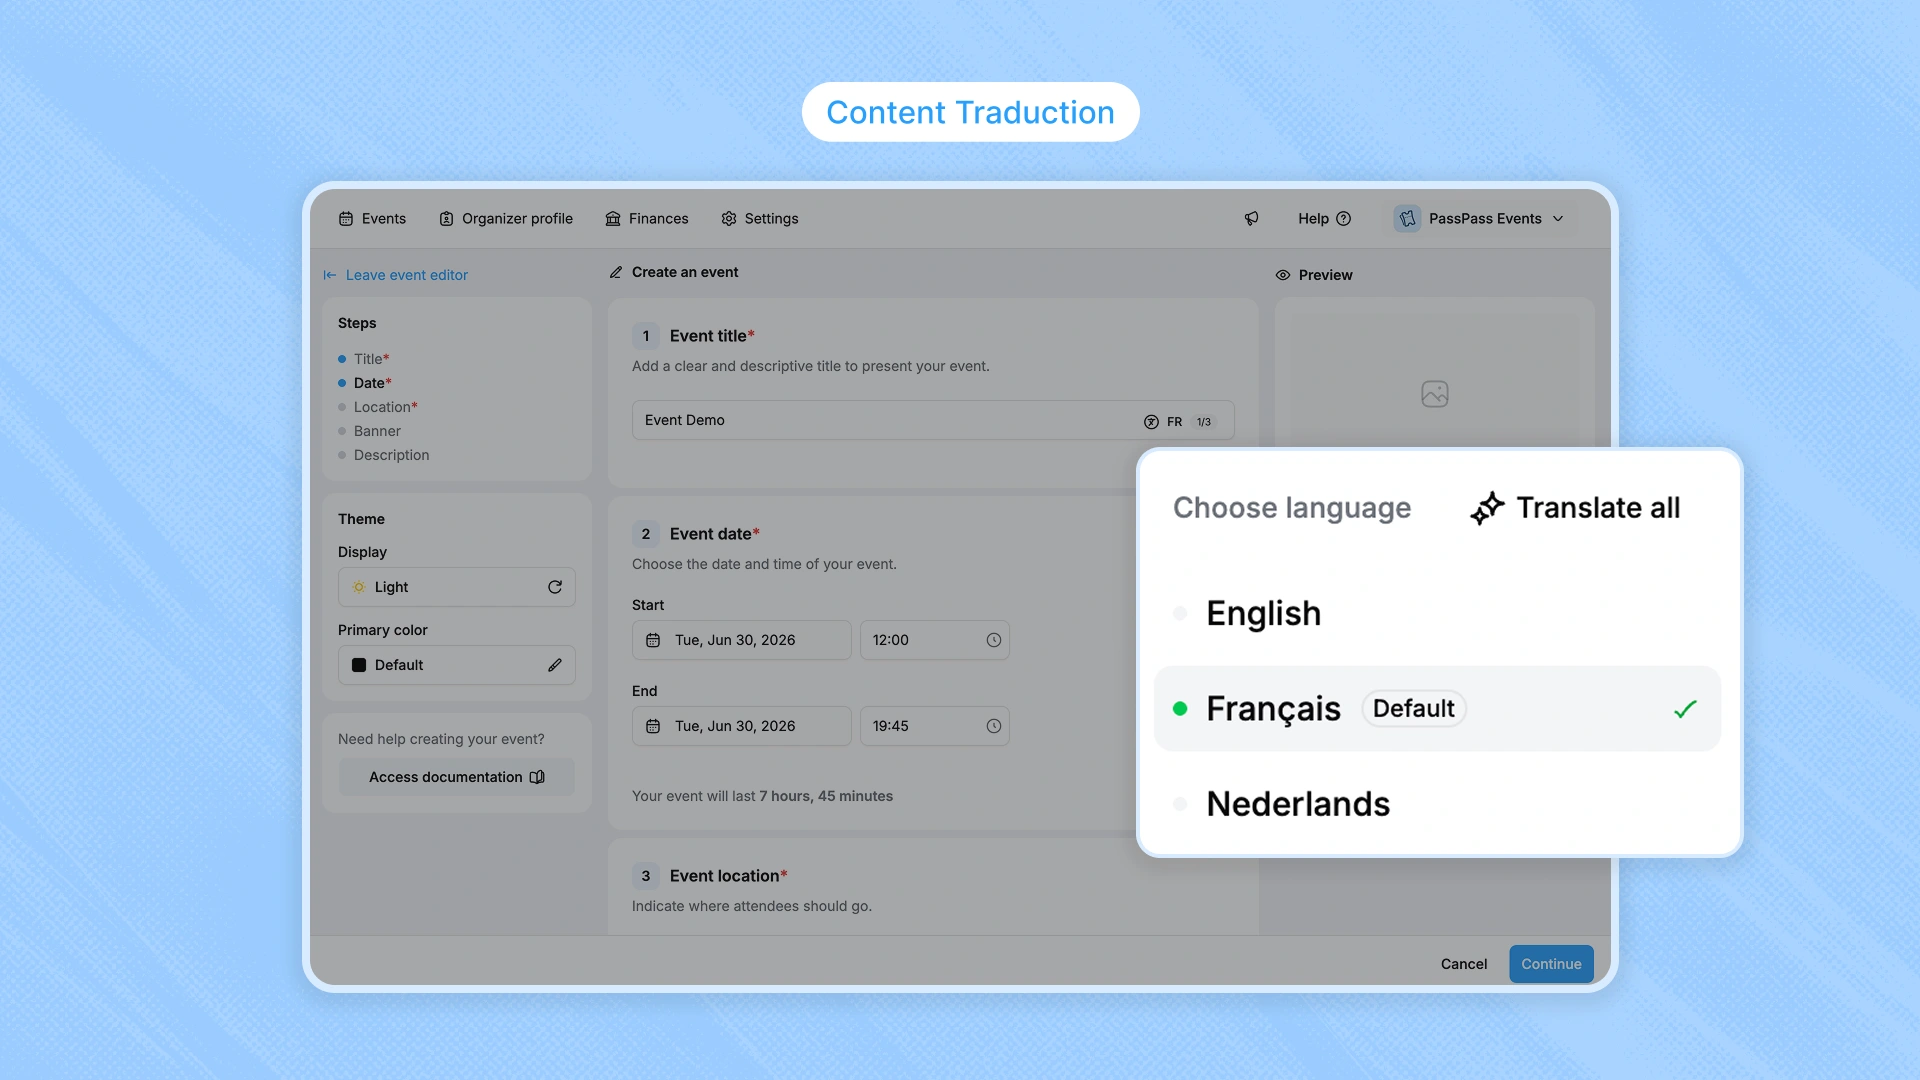
PassPass allows you to offer your event in multiple languages → French, Dutch, and English. Your participants will automatically see the content in their language. This feature applies to the entire journey → event page, tickets, add-ons, order form, confirmation emails, and tickets.
Activate translation
Go to Settings (in the sidebar, next to Finances) → section Languages and activate the option Translate events.
Once activated, each available language (FR, NL, EN) appears in the settings. Select the languages in which you want to offer your event.
Translate your content
Once translation is activated, a language indicator appears to the right of each text field and each image of your event.
How it works:
Locate the language icon to the right of the field (e.g., FR 1/2, NL, EN)
Click on the desired language to switch to that version
Write or paste your translation in the field
Do the same for each field → title, description, location, ticket names, add-ons, etc.
Images can also be different by language → useful if your visuals contain text.
Use automatic translation
To save time, PassPass offers an option for automatic translation accessible from each translatable field.
Automatic translation generates a first version in the target language based on your original content. It works field by field → click on the automatic translation option available on each translatable field. It's a good starting point to speed things up, especially if you have a lot of content to translate.
Be sure to proofread and adjust the generated translations. Automatic translation provides a functional base, but it lacks the specific context of your event → some phrasings or terms specific to your industry deserve manual tweaking for optimal results.
What is automatically translated by PassPass
Some elements of the journey are already translated by PassPass in the 3 languages, without any action from you:
Buttons and interface of the purchase journey → "Buy", "Continue", "Pay", etc.
Confirmation emails → structure and system texts
PDF and Wallet tickets → system labels
Event page → interface elements (sharing, navigation, etc.)
You only need to translate your own content → the texts you write to describe your event, your tickets, and your add-ons.
Best practices
Start by writing your entire event in your main language
Then use automatic translation field by field to generate the translations
Proofread each translation, especially ticket and add-on names that may have specific meanings
Test the purchase journey in each language to ensure everything displays correctly
Yes, translation is optional. If you do not activate it, your event remains in the language in which you wrote it.
The content displays in your main language (the one in which you wrote the event). However, the interface and static content can adapt to its language (purchase buttons, emails, …)
It provides a solid foundation for getting started quickly. We recommend proofreading the translations, especially for terms specific to your event. The tool prioritizes simplicity and speed → it's up to you to refine according to your needs.
Yes, you can translate only the most important fields (title, description) and leave the rest in the main language.
The language indicator to the right of each field displays the number of languages provided (e.g., FR 1/2 means that only French is filled in out of 2 activated languages).